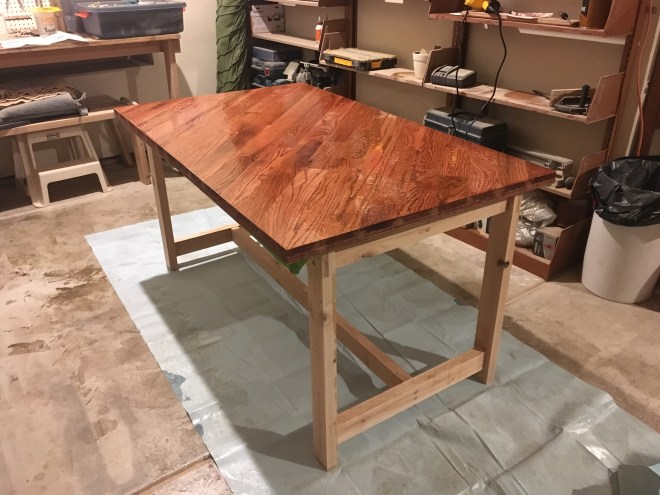
When I first set up my wood-shop, I was using an old door thrown across two sawhorses as my work bench:
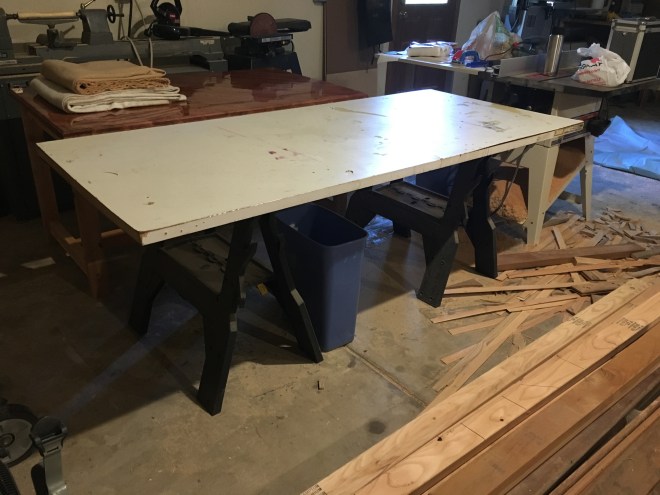
It was wobbly, the door tended to slide off the horses, and you really couldn’t attach a vise (or even a clamp) to it to hold down a piece of work. So, I decided I needed an upgrade. After drawing up some plans, I got to work cutting out the initial stock for the legs, rails, and other components for the frame.
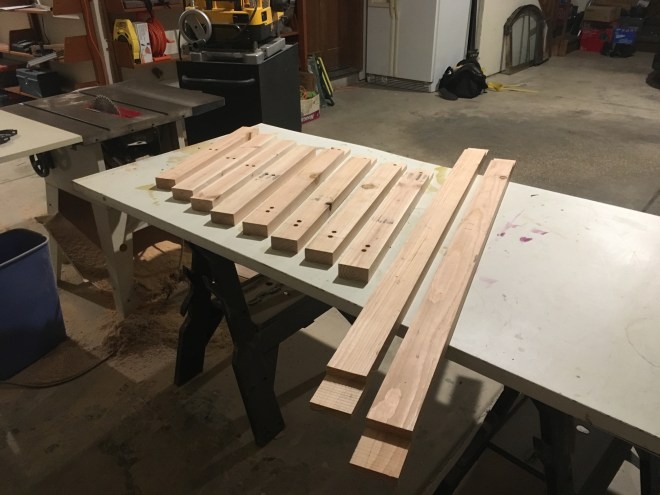
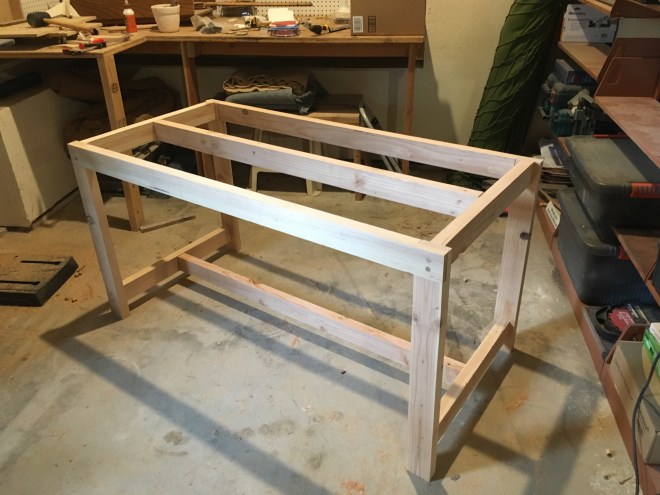
Then came joining all the pieces together. As a challenge for myself, I decided I wouldn’t use any metal fasteners anywhere in the whole table. However, I’m still more-or-less a novice at wood working, so I decided to go with a few simple joints, and use dowels as a surrogate for metal fasteners.
For the table top, I picked some nice ¾” plywood I had from another project, and cut it to be just a little larger than the frame (to give myself somewhere to place clamps). To fasten this to the frame, I cut holes at a 45° angle, and drove dowels in with some glue. Since each set of dowels were driven in at 90° to one another, this prevents any movement of the surface in any direction.

I also had some beautiful oak flooring left over from a different project, so I decided to put it to good use here. The first step was just sorting through all the scraps to make sure I had enough pieces of sufficient size to actually cover the entire table.

At this point, they’re only clamped into place to test the fit, so the next step was to actually glue everything down and trim the edges to match the plywood surface underneath.

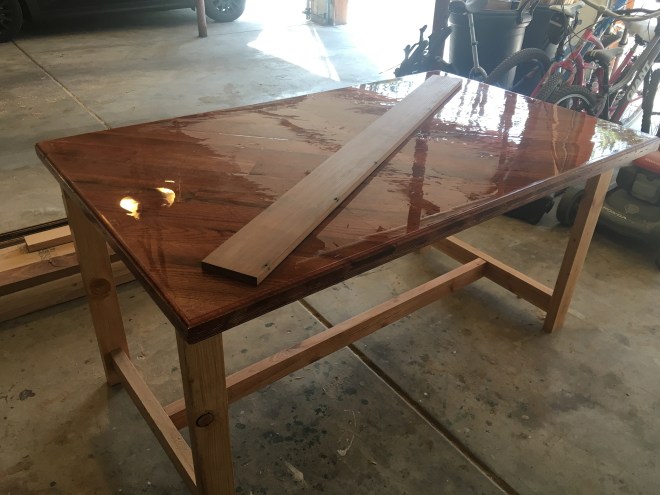
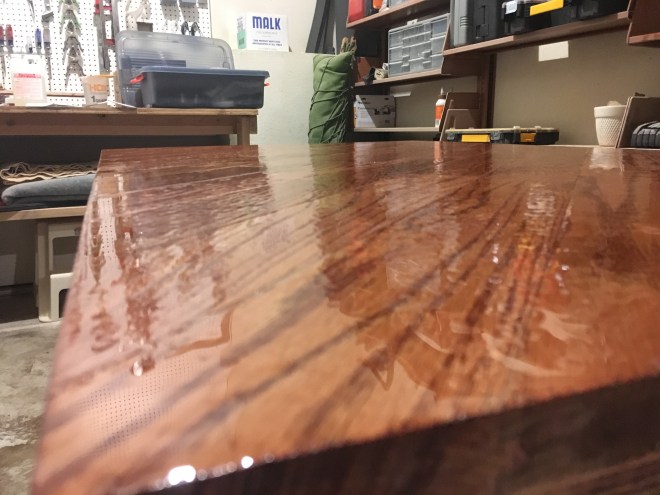
Next, I decided I wanted a super durable finish which would protect against dropped tools, heavy pieces of work, clamp marks, and the other abuses a workbench would suffer. So, I did a bunch of research and decided to go with a liquid epoxy finish.
The stuff is fiendishly difficult to work with. Following some advice I found in the internet, I allowed the first coat to drip over the sides of the table-top as I spread it out… big mistake. Even with a drop-cloth, it made a huge mess, and was both slippery and sticky underfoot. Even worse, I didn’t make enough in my first batch, so I wound up with lots of little “pockets” as it cooled and the surface tension pulled it away from those areas.
It’s hard to actually see the effect from a distance (thankfully!), but here’s a closer view so you can really see what I’m talking about:
For the second coat, I disregarded the earlier advice, and built up a little dam around the edges using some very sturdy duct tape.

With the second coat on, things looked a lot better! Still a few “pockets” and a few areas where the grain of the wood allowed air bubbles to continually be re-introduced to the epoxy, but these are very minor in the overall surface.

At this point, there was only applying some polyurethane to the frame to be done.

And, then, we have the final result.